How to Install OpenStack on Ubuntu 22.04 with DevStack


What is OpenStack?
OpenStack is a free, open-standard cloud computing platform. It is primarily deployed as infrastructure-as-a-service (IaaS) in public and private clouds, providing virtual servers and other resources to users.
What is DevStack?
DevStack is a collection of scripts designed to quickly set up a complete OpenStack environment. It allows developers to download the latest version of OpenStack from the Git master branch and is commonly used for setting up development environments or as the foundation for functional testing in OpenStack projects.
Minimum Requirements
Before beginning, ensure your system meets the following minimum requirements:
- A fresh Ubuntu 22.04 installation
- User with sudo privileges
- 4 GB RAM
- 2 vCPUs
- 10 GB of disk space
- Internet connection
Once the prerequisites are met, you can proceed.
Step 1: Update and Upgrade the System
Log into your Ubuntu 22.04 system via SSH and run the following command to update and upgrade system repositories:
sudo apt update -y && sudo apt upgrade -yReboot the system afterward using one of the following commands:
sudo rebootOR
init 6Step 2: Create the stack User and Assign Sudo Privileges
DevStack should be run as a regular user with sudo privileges. Create a new user named stack with the following commands:
sudo adduser -s /bin/bash -d /opt/stack -m stack
sudo chmod +x /opt/stack
Assign sudo privileges to the stack user:
echo "stack ALL=(ALL) NOPASSWD: ALL" | sudo tee /etc/sudoers.d/stackStep 3: Install Git and Download DevStack
Switch to the stack user:
su - stackIf Git is not already installed, run the following command:
sudo apt install git -y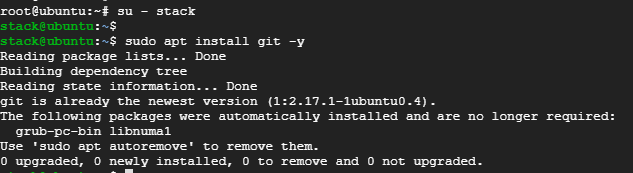
Clone the DevStack Git repository:
git clone https://git.openstack.org/openstack-dev/devstack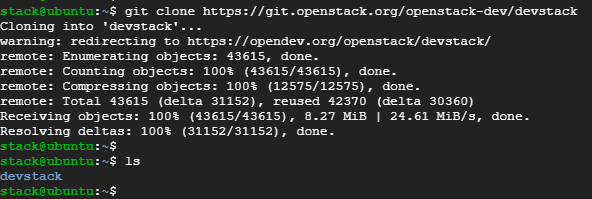
Step 4: Create a DevStack Configuration File
Navigate to the DevStack directory:
cd devstackCreate a local.conf file:
vim local.confAdd the following content to the file:
[[local|localrc]]
# Password for Keystone, Database, RabbitMQ, and Services
ADMIN_PASSWORD=StrongAdminSecret
DATABASE_PASSWORD=$ADMIN_PASSWORD
RABBIT_PASSWORD=$ADMIN_PASSWORD
SERVICE_PASSWORD=$ADMIN_PASSWORD
# Host IP - get your Server/VM IP address from `ip addr` command
HOST_IP=10.208.0.10
Save and exit the file.
Notes:ADMIN_PASSWORDis the password used to log in to the OpenStack Dashboard. The default username isadmin.HOST_IPis the IP address of your system, which can be obtained by runningifconfigorip addr.
Step 5: Install OpenStack with DevStack
Run the following script from the devstack directory to start the OpenStack installation:
./stack.shThe following OpenStack components will be installed:
- Horizon — OpenStack Dashboard
- Nova — Compute Service
- Glance — Image Service
- Neutron — Network Service
- Keystone — Identity Service
- Cinder — Block Storage Service
- Placement — Placement API
The installation process typically takes 10 to 15 minutes, depending on system and internet speed.

Step 6: Access OpenStack on a Web Browser
To access the OpenStack dashboard, navigate to:
https://<server-ip>/dashboardLog in using the credentials created in the local.conf file (admin and ADMIN_PASSWORD).
You will be directed to the OpenStack management console dashboard.
Visit our Helpdesk to learn more. We are one of the most secure cloud providers in Canada. KeepSec: securing your future, one byte at a time!